

How to Apply Press-On Nails at Home A Step-by-Step Guide
Do you want to have beautiful nails but don't have time or money to go to a nail salon? Press-on nails can be a great solution for you! With a little practice, you can apply them at home and have salon-quality nails. Follow this step-by-step guide to learn how to apply press-on nails at home.
Step 1: Prepare your nails
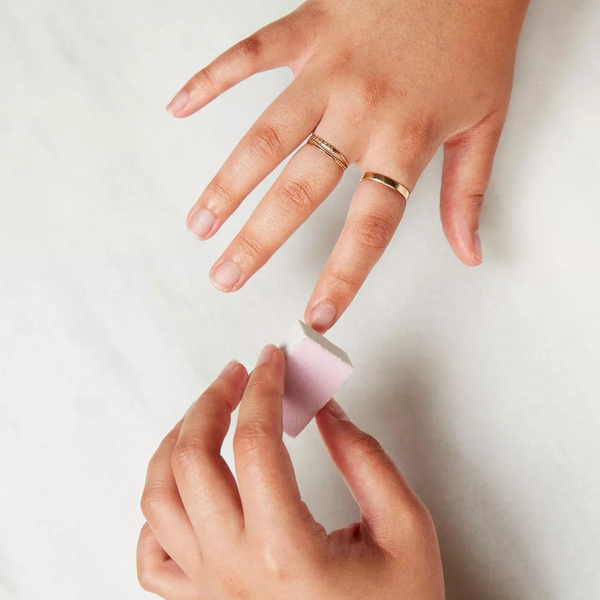
Start by preparing your nails. Remove any old polish and file your nails to your desired shape. Use a nail buffer to smooth the surface of your nails. Then, clean your nails with a nail polish remover to remove any oils or residues. This will help the press-on nails adhere better.
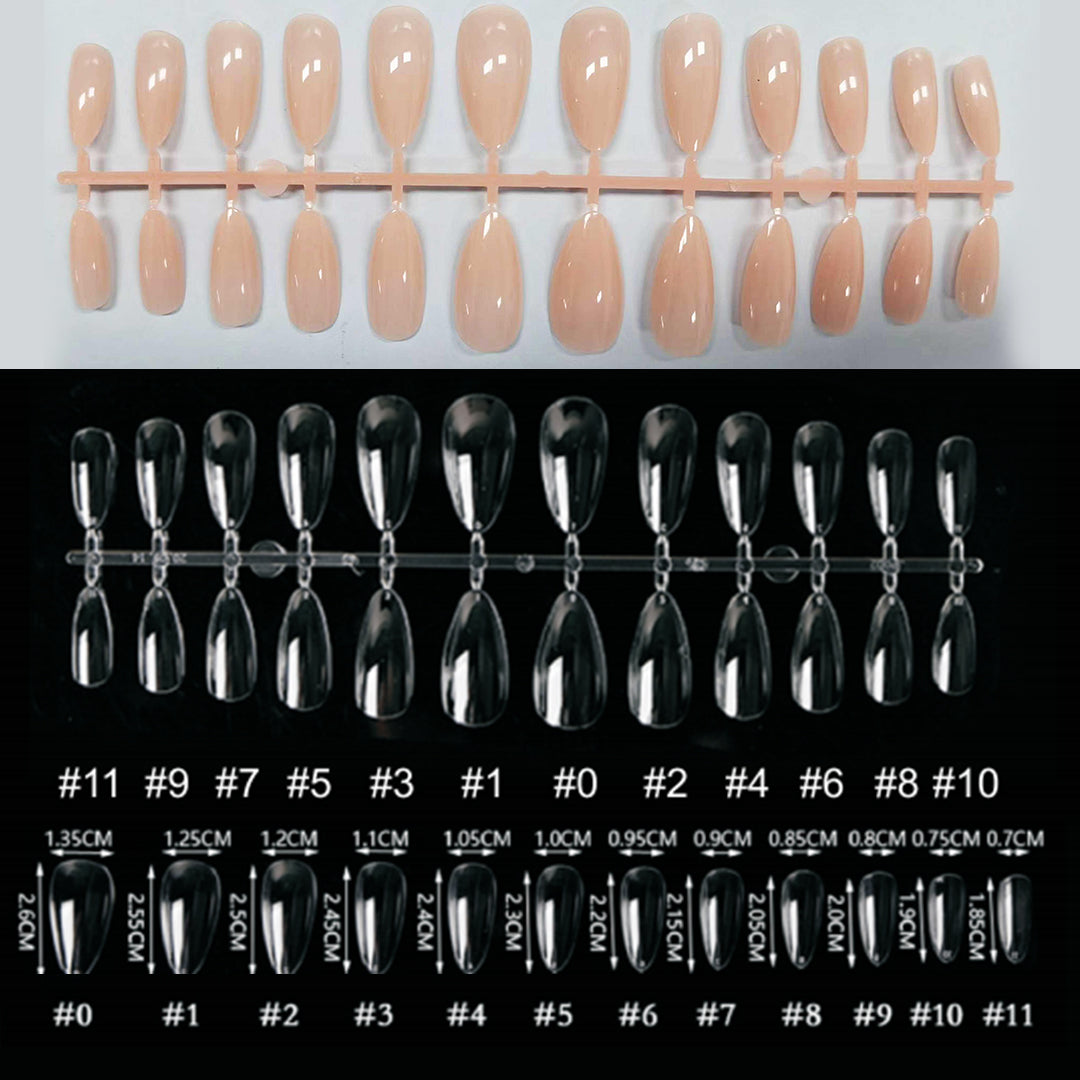
Step 2: Choose the right size
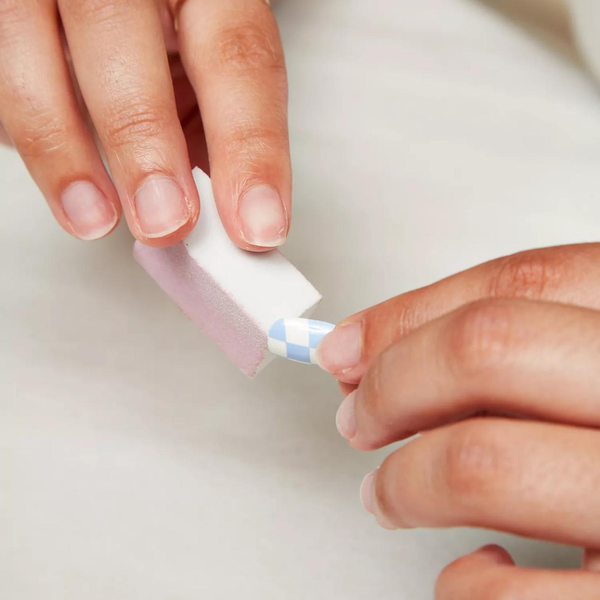
After preparing your nails, it's time to choose the right size of press-on nails. Hold each nail up to your natural nails to find the right fit. If the press-on nail is too big, file it down to fit your natural nail shape.
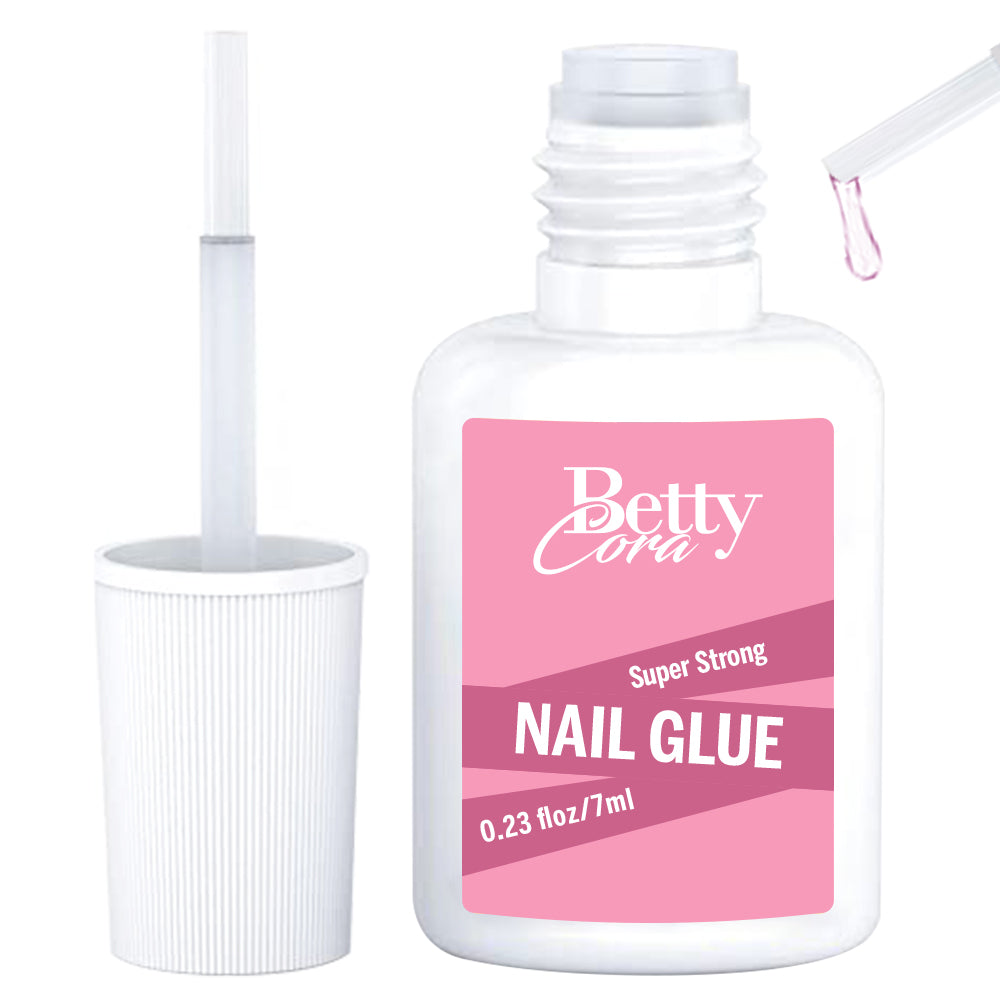
Step 3: Apply glue to the press-on nails
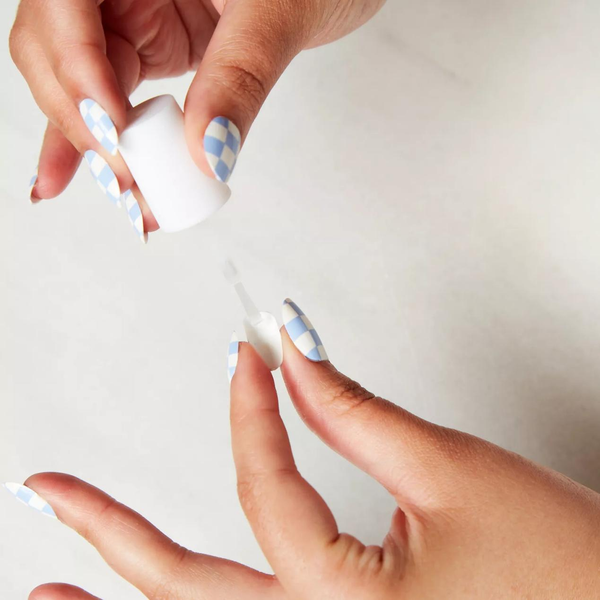
Once you have found the right size, apply a small drop of glue to the press-on nail. Be careful not to use too much glue, as it can make a mess and cause the press-on nail to fall off.
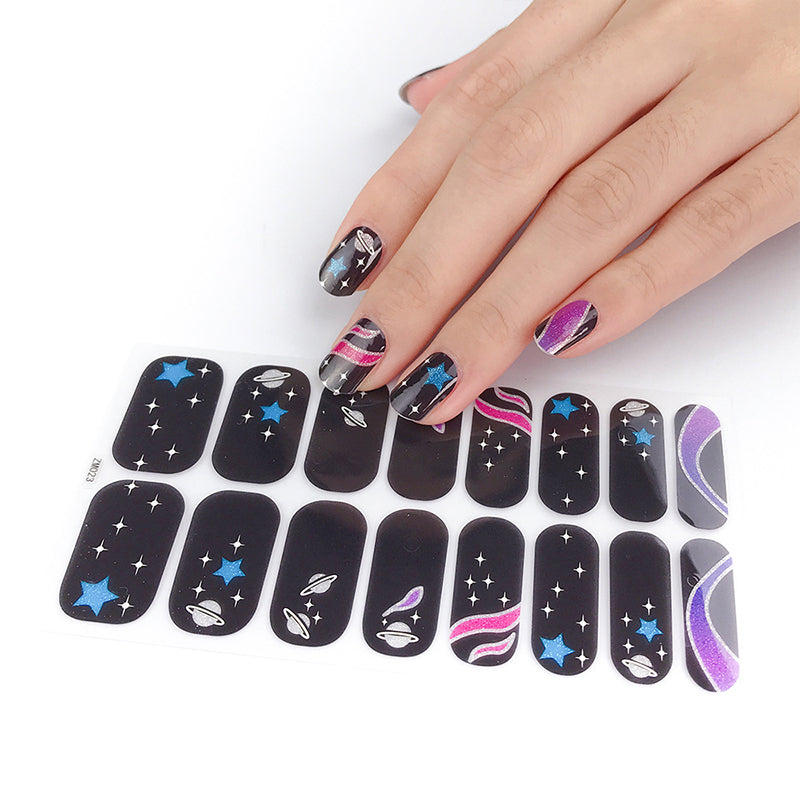
Step 4: Apply the press-on nails
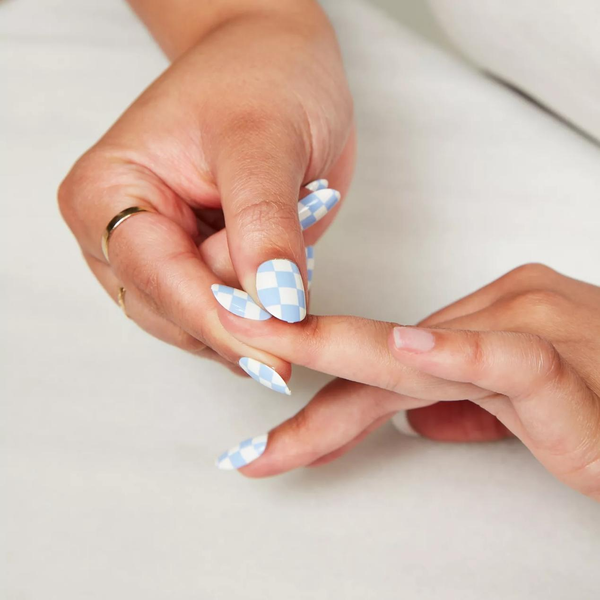
Now, it's time to apply!
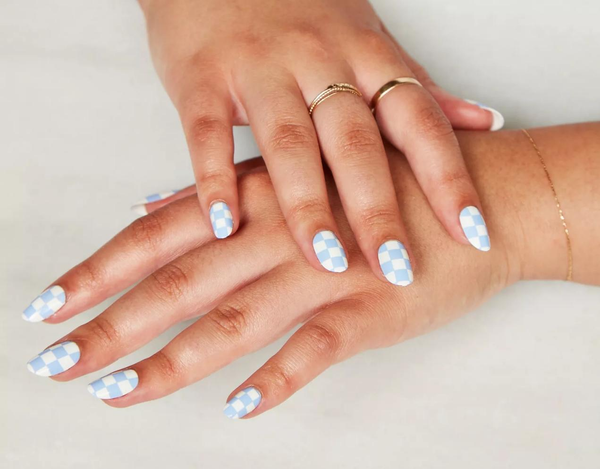
The last warm tip is to stay patient while wearing press on nails and complete each step carefully. Try not to touch water and use it violently at the beginning of use, so that it will stay on for more than 2 weeks.


Leave a comment