

Halloween Press-On Nails Tutorial: Simple Steps to Create Glamorous Nails
Halloween is the perfect occasion to embrace creativity and showcase your festive spirit through glamorous Halloween-themed nails. In this tutorial, we will guide you through simple steps to wear stunning and eye-catching Halloween press-on nails. Whether you're attending a costume party or simply want to add a touch of Halloween flair to your look, these easy-to-follow steps will help you achieve fabulous nails that are sure to impress.

Step 1: Prepare Your Natural Nails
Start by cleaning your natural nails and shaping them to your desired length and style. Gently push back your cuticles and buff the surface of your nails to create a smooth base for the press-on nails.

Step 2: Choose Your Halloween Press-On Nails
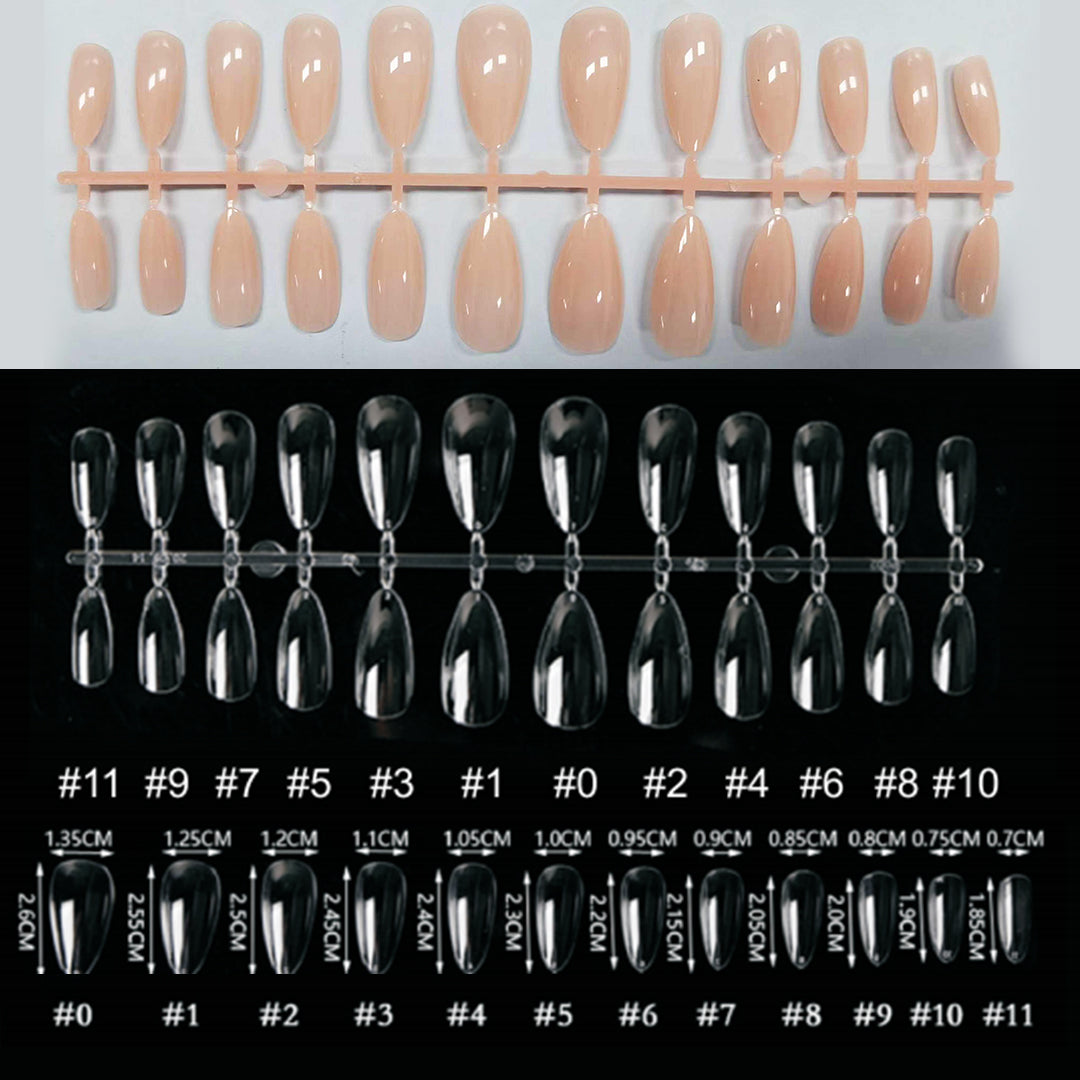
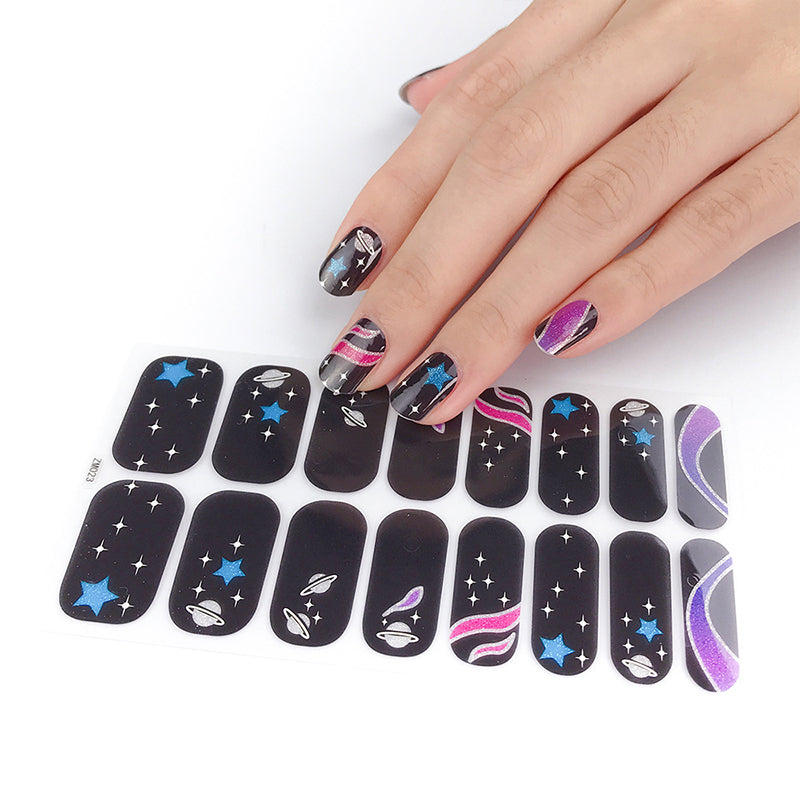
There is a wide variety of Halloween-themed press-on nails available, featuring designs such as pumpkins, ghosts, spiders, bats, and witches. Select the press-on nails that align with your Halloween theme or personal preferences. Ensure they are the right size for each of your nails.

Step 3: Prepare the Press-On Nails
Before applying the press-on nails, make sure to clean them with rubbing alcohol to remove any residue or oils. This step helps to enhance the adhesion and longevity of the nails. Additionally, if necessary, trim or file the press-on nails to fit your natural nail shape.

Step 4: Apply the Press-On Nails
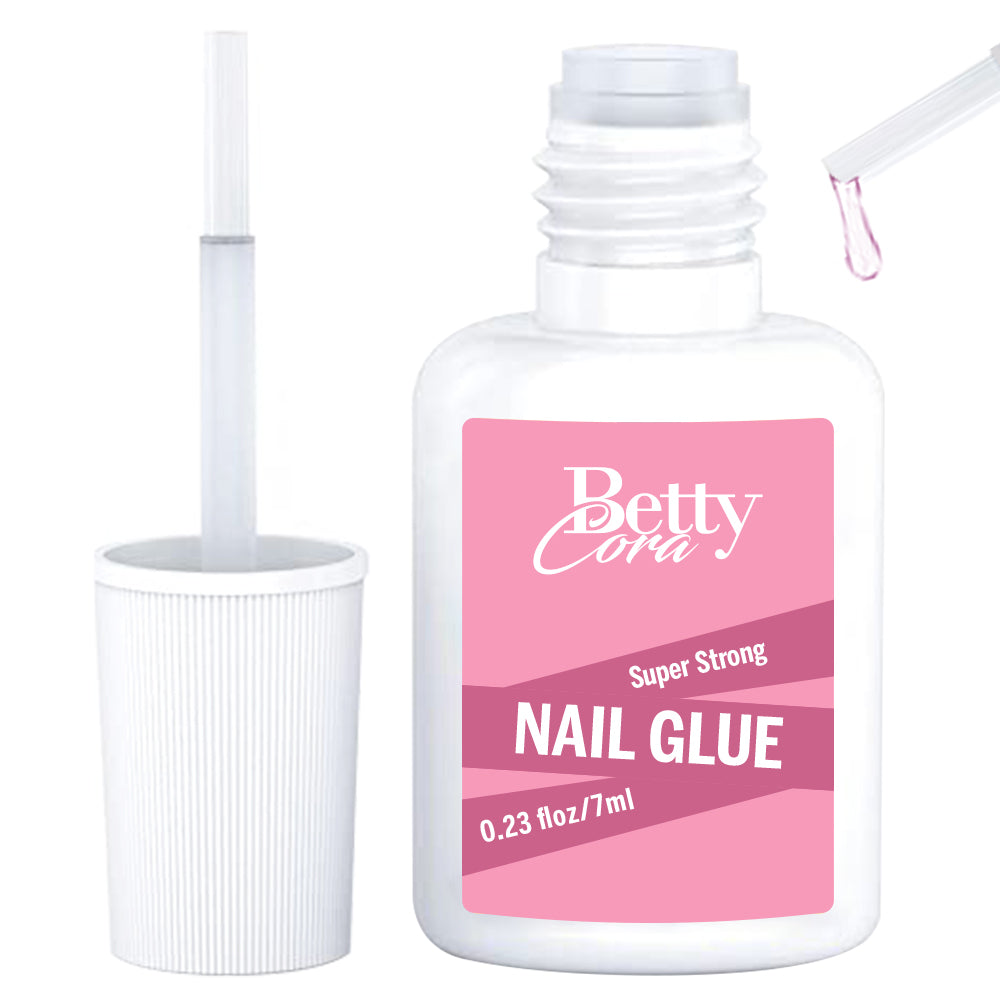
Start by applying a thin layer of nail glue or adhesive tabs to your natural nails. Then, carefully align the press-on nails with your natural nails, starting from the cuticle and pressing down firmly. Hold each nail in place for a few seconds to ensure a secure bond.

Step 5: Shape and Customize
Once the press-on nails are applied, use a nail file to shape and customize them to your desired length and style. You can also add additional details like rhinestones, nail art paint, or decals to further personalize the design.

Step 6: Seal and Protect
To ensure the longevity of your Halloween press-on nails, apply a top coat over the entire nail surface. This step helps to seal the design, adds shine, and protects the press-on nails from chipping or peeling.
Recommended Halloween Press-On Nails Styles:
Gothic Glam: Opt for press-on nails with black matte finishes, intricate lace patterns, or delicate spiderweb designs for a dark and mysterious look.

Pumpkin Spice: Choose press-on nails featuring adorable pumpkin faces, pumpkin patch patterns, or autumn-inspired colors like orange and gold for a festive and playful vibe.

Wicked Witch: Embrace your inner witch with press-on nails that have a deep purple or green base color, adorned with stars, moons, or witch hat motifs.

Haunted Mansion: Select press-on nails with eerie graveyard scenes, haunted house silhouettes, or ghostly apparitions for a spooky and atmospheric effect.

Creepy Crawlers: Opt for press-on nails featuring realistic spider or spiderweb patterns, along with dark and metallic colors, to create a creepy and captivating look.

With this simple Halloween press-on nails tutorial, you can easily achieve glamorous and eye-catching nails that reflect the spirit of the season. By following these easy steps and exploring various Halloween-themed press-on nail styles, you can effortlessly elevate your Halloween look. So, embrace your creativity, have fun with different press-on nail designs, and get ready to rock fabulous Halloween nails that will leave everyone in awe! Happy Halloween!

Leave a comment